Sunday, October 28, 2012

Monster Snot (Slime)


My son has been bugging me to make slime. I keep talking about all the science experiements we are doing in his first grade class Halloween party; it is a mad scientist theme. I have been promising we will test them out prior to class party. Monster snot won hands down. I found this recipe in the book from my local library called Crazy Concoctions by Jordan D. Brown.

Supplies:
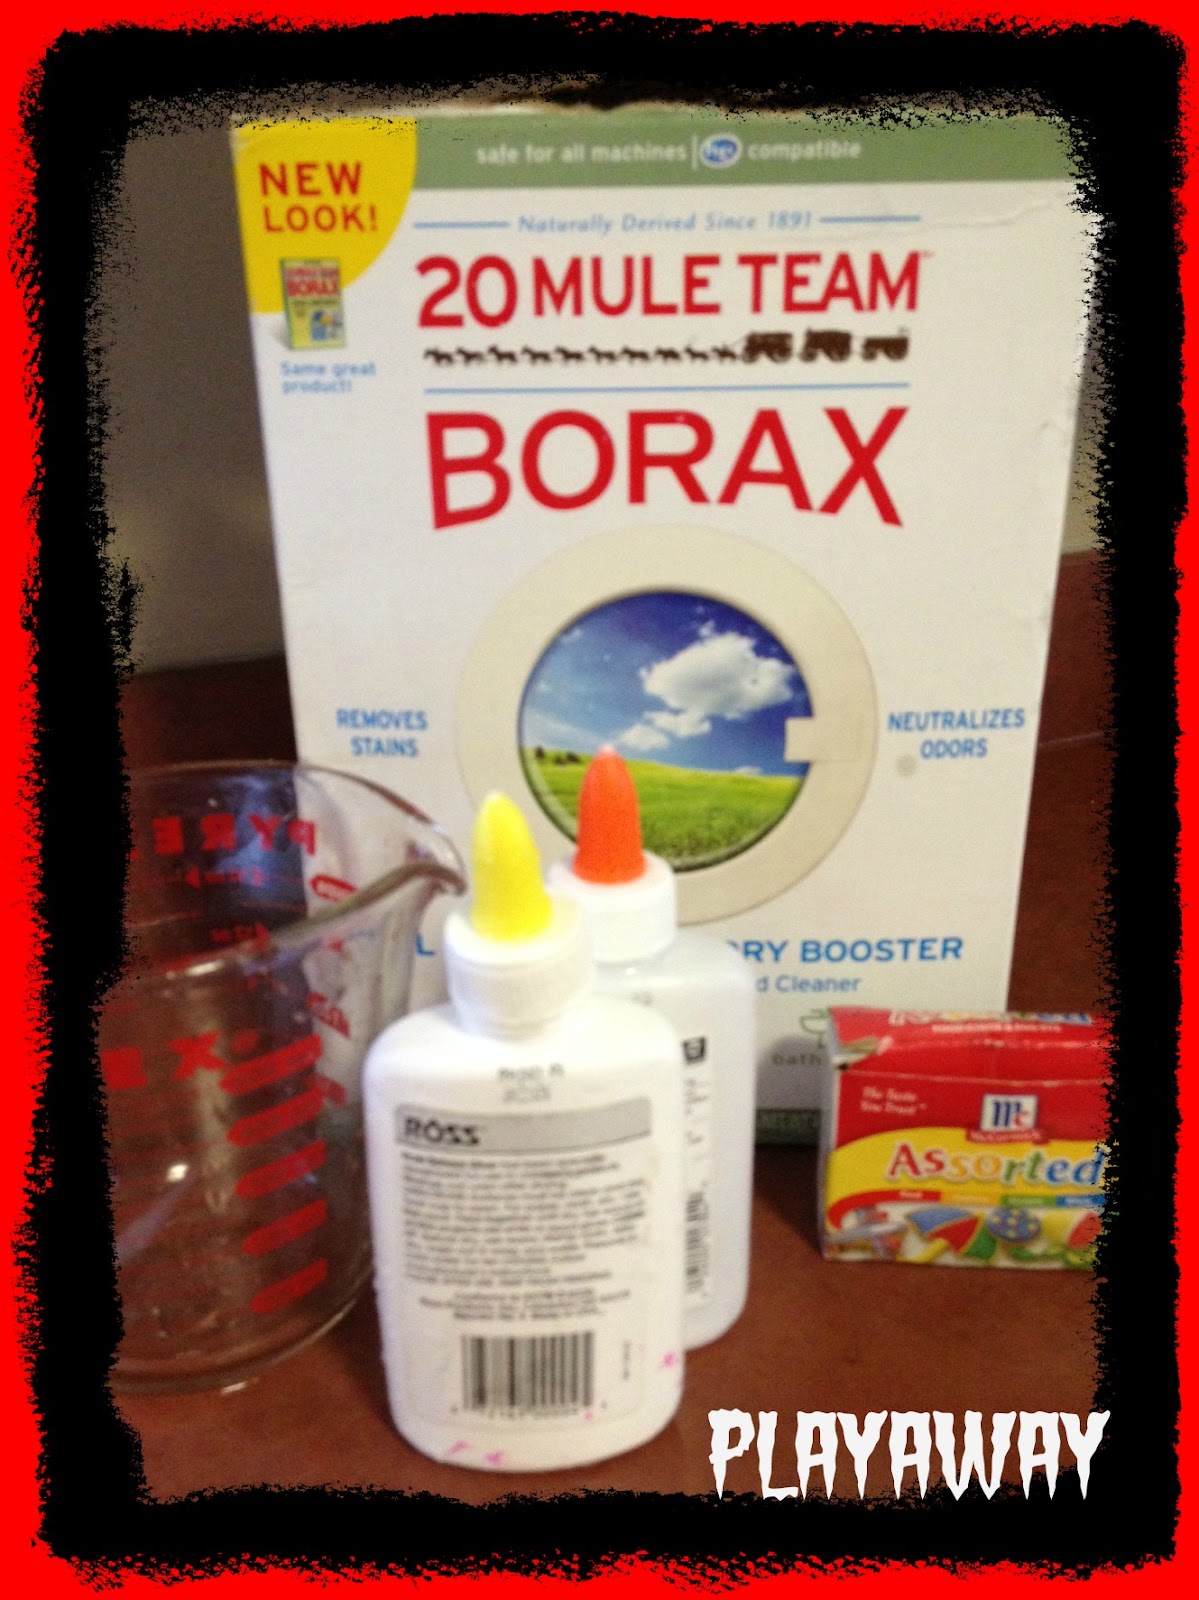
  • 1 8oz bottle of white glue
  • food coloring
  • 1 1/2 cups warm water
  • 1 teaspoon of Borax
  • measuring spoons/cups
*Safety note: Borax is safe when used in small amounts. But in large doses it can be dangerous. Make sure to keep the box and this slime away from small children and pets. Always use adult supervision. Clean up any powder spills right away. By all means, DO NOT EAT THIS!


  1. Squeeze the 8 oz bottle of glue into a bowl. I used a disposable pan that I use for our science experiments.  
  2. Fill the empty glue bottle with warm water and put lid back on. Shake, shake and shake. Empty the water into the bowl. Add a few drops of food coloring. 
  3. Fill a measuring cup with 1/2 cup of warm water and add 1 teaspoon of Borax. Mix.
  4. Slowly pour the Borax mixture into the water/glue. Squish it together with your hands. The magic will begin. 

There may be a little bit of water left in the bowl, don't worry the more you play with the mixture the more it becomes a solid. Our water was completely absorbed in a few minutes. 

My boys played with it for about 15 minutes. I then put it in a Ziplock bag to preserve. This is going to be a blast at our class party!


Have you made snot/slime before?

Monday, October 22, 2012

Pudding Paint Pumpkins


Today I wanted to paint with something my toddler friends could paint with without worry, as a few of them put all the paints in their mouths. Pudding paint is the answer.


Supplies: Vanilla pudding, food coloring, paper plates, and paint brushes.


I chose the pre-made pudding option since I keep it in my classroom. You may want to make your own pudding. You will also need food coloring. I used 2 drops of red and 3 drops of yellow.

Our theme today was Halloween/Pumpkins. We read a great lift the flap book called Eek-A-Boo. It is simple enough to keep their attention, yet interactive.


I had my friends paint a paper plate pumpkin. Next week we will add the face after the pudding has a chance to dry.

I also did the popular 5 Little Pumpkin Felt Board Story. I found my copy here, at Mommy School by Oopsey Daisy. She has a great H is for Halloween pack.


Have you painting with pudding before?

Thursday, October 11, 2012

Paint With Hay At PlayAway


Today's theme was farm animals. I have done several crafts including muddy pigs. This time I wanted to try something different. Today we painted with hay. Okay, not real hay due to allergies. I used fake hay. I have no idea what it is made from, but I got it at the local craft store. I got the idea from the great MaryAnn Kohl.

Supplies: hay (or fake hay), washable paint that you will water down, and thick paper. 


First make a paint brush out of hay. I grabbed a handful and then taped it together. You can have the children grab it with their hands or you can have them hold it with a clothes pin. 

I drew a barn on some thick red construction paper. I asked my friends to paint the hay around the barn. I love that they asked for more than just yellow. My mind made the hay  yellow, they knew better. Hay can be any color. 

We finished off with Old MacDonald felt story/song, and two great books. 


Have you painted with hay before?

Wednesday, October 10, 2012

Textured Pumpkin Art


This weekend my son and I were watching Artzooka, a CBC show. It is a great art show for older kids which shows kids how to make art out of recycled materials. We have been watching it since he was four and he loves it. Much of the art projects are for older kids, but some we can do. This textured pumpkin is an example of one.

Supplies: old crayons, school glue, thick paper with pumpkin drawn on it, grater to grate crayons, and art sticks.


Grate the old crayons (get help from your parents on this one kids). My three year old did this under my supervision. He had no problem and there were no boo boos. You know your child and their ability. Closely supervise or do this for them.

I used orange and black crayons. Mix your crayon shavings into a bowl of glue.


Take your art stick and gently rub the glue/crayon shaving mixture onto your paper. It will be thick and a little hard to move for little ones. My six year old had no problem.


Let it dry. It may take a couple days depending on the thickness. *It took at least 24 hours to dry, but the texture is really cool for the kids to feel.

Have you used crayons in a fun way?


Wednesday, October 3, 2012

Shapes

Today was all about shapes. Circles, squares, triangles; oh my! We read Little Rabbits book on shapes.

Our art project was circle painting. My friends and I painted circles (really stamped) with paper tubes.


Supplies: You will need paper tubes (tp or pt tubes), paint, and paper.


Have child put tube into paint and stamp circles.You can also make the tubes into other shapes, although mine did not turn out well.


Our sensory was foam shapes in water. My friends splashed a lot today.


We also found shapes in our classroom and sorted them by shape. I put tape down on the floor in the shape of a square, triangle and circle. My friends sorted them into the shapes on the floor.


Here are some great links to other shape activities!

Teach Preschool and Hands On: As We Grow both had this fun shape sorting/exploring activity. I put mind on our sensory table since it is low enough for my friends to reach comfortably.

Crayon Frekcles has this great pattern with shape activity.

TinkerLab has Circular Patterns.

A favorite food of mine - Twizzlers - over at Pink and Green Mama.

Glittering Muffins has shape sorting.

These are just a few ideas. What have you done?


Tuesday, October 2, 2012

Fall

I love Fall. Cooler temperatures, leaves cracking under your feet, apples/cider/doughnuts, and of course the beautiful colors. There are so many great ideas out there for fall art activities. I kept it simple; egg carton leaf stamping.


Supplies: You will need paper, fall colored washable paint, and an egg carton. Cut the egg carton to where you have 4 spots where the eggs would be. The center will become the handle for little hands. It works great.


There are two ways to do this activity. You can trace your childs hand or you can draw a tree trunk. I prefer the hand tracing. Once you trace their hand let them dip the carton into the paint and stamp away.  They love the sound and feel of stamping. My 3 year old could not stop stamping. We stamped several trees.

I apologize for the lack of photos, my friends in class where so entertaining that I forgot to take enough photos!

Here are some other great fall activity ideas from fellow bloggers thanks to Moms to 2 Posh Lil Divas for compiling a great list!

What fall activity did you do this week?